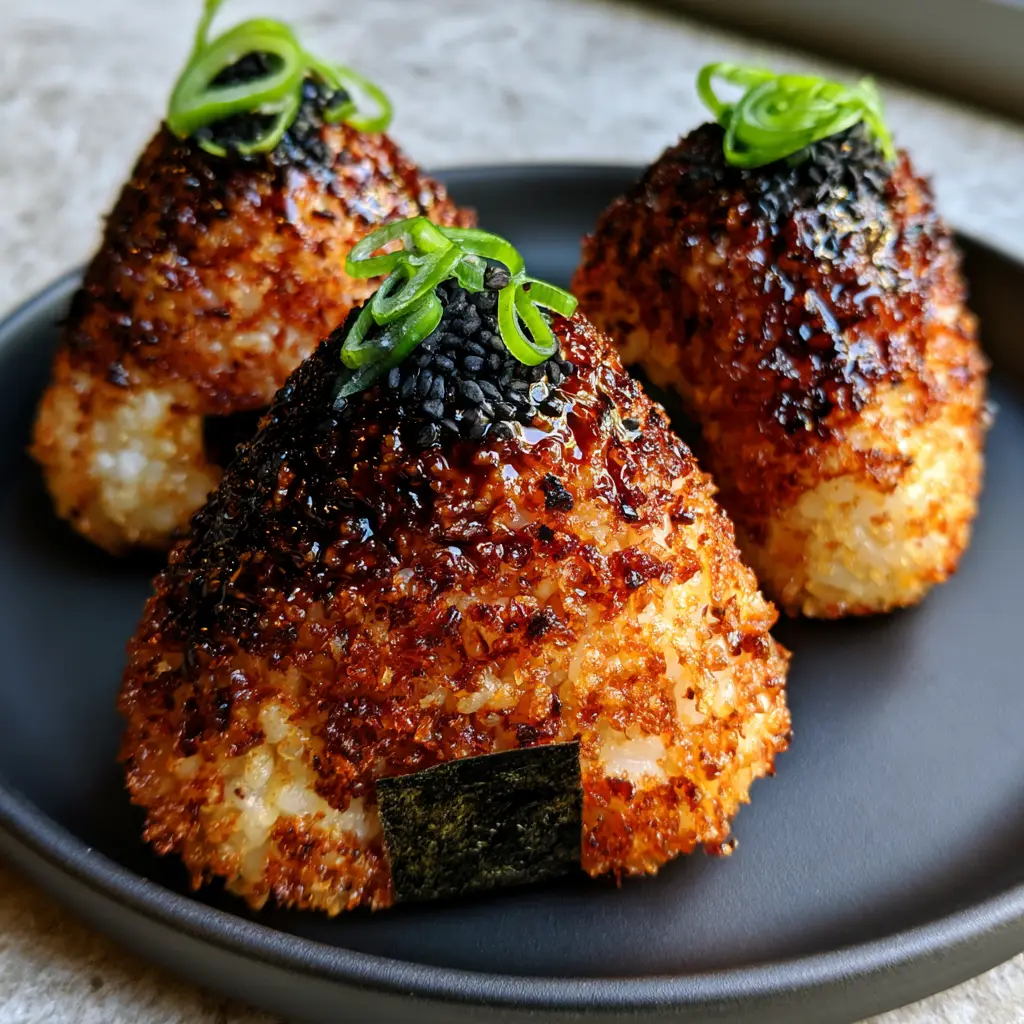
Experience the definitive crunch of authentic Japanese soul food with this Yaki Onigiri recipe. Imagine biting into a shatter-crisp, golden-brown crust that gives way to a tender, fluffy interior of seasoned short-grain rice. This isn’t just a snack; it’s a masterclass in texture and umami, perfectly adapted for the modern air fryer to achieve that coveted charred finish without the hassle of a grill.
Every triangular rice ball is a canvas for a glossy, dark brown miso soy glaze that glistens under natural light. Topped with a meticulous pinch of toasted black sesame seeds and vibrant green scallions, these rice balls are as visually stunning as they are delicious. Whether you are looking for a quick lunch or a sophisticated side for your next hibachi steak bowl, this recipe delivers professional results every time.
The Secrets Behind the Perfect Shatter-Crisp Rice Crust
The magic of a truly elite Yaki Onigiri lies in the structural integrity of the rice grains. Unlike long-grain varieties, Japanese short-grain rice contains the high amylopectin content necessary to bind the grains together into a sturdy triangle. Without this natural starch “glue,” your rice ball will disintegrate the moment it hits the air fryer basket.
To achieve that “handheld smartphone photo” aesthetic where individual grains look deeply toasted and slightly charred, we utilize a two-stage cooking process. First, we dehydrate the surface of the rice using high-velocity air. Second, we apply a sugar-rich miso glaze that undergoes rapid caramelization, creating a lacquered, umami-rich shell that reflects light beautifully.
Essential Ingredients for Umami-Packed Rice Balls
Short-Grain White Rice (Sushi Rice): 2 cups (400g). This is the foundation of the dish; the high starch content ensures the ball holds its shape during the air-frying process.
Red or White Miso Paste: 2 tbsp (30g). Miso provides the deep, fermented saltiness and the thick body required for a glaze that clings rather than drips.
Soy Sauce: 1 tbsp (15ml). Essential for that dark brown pigment and a boost of savory depth that penetrates the outer crust.
Mirin or Honey: 1 tbsp (15ml). The sugar content here is vital for the “glistening” visual effect and the Maillard reaction that leads to a toasted golden-brown color.
Toasted Sesame Oil: 1 tsp (5ml). A small amount of oil in the glaze prevents the miso from burning too quickly while adding a nutty aromatic profile.
Dried Nori Seaweed: 1 sheet, cut into strips. These provide a functional “handle” for the onigiri and a crisp, oceanic contrast to the sweet-savory glaze.
Fresh Green Scallions: 2 stalks, sliced paper-thin. These offer a vibrant green pop against the dark glaze and a necessary hit of fresh, sharp acidity.
Toasted Black Sesame Seeds: 1 tsp (5g). These provide a textural “crunch” and a professional, high-end lifestyle aesthetic finish.
Fine Sea Salt: ½ tsp (3g). Used to season the water when cooking the rice and to lightly coat your hands when molding the triangles to prevent sticking.
Tools Required for Culinary Precision
To replicate the ultra-sharp focus and artisan texture seen in our visual blueprint, you will need an Air Fryer with a perforated basket. This allows 360-degree heat circulation, ensuring the bottom of the rice ball is just as crispy as the top. A silicone pastry brush is also non-negotiable for “artfully brushing” the glaze without crushing the delicate rice grains.
If you enjoy the precision of Japanese cooking, you might also enjoy preparing a vegan chimichurri tofu bowl which requires similar attention to texture and layering. For shaping, you can use a triangular onigiri mold, though traditionalists prefer the “te-shio” (hand-salting) method for a more organic, rustic appearance.
The Hand-Molding Technique for Perfect Triangles
Step 1: Preparing the Starch Foundation
Rinse your short-grain rice under cold water until the water runs clear. This removes excess surface starch that can make the rice gummy rather than fluffy. Cook the rice with 2 cups (480ml) of water in a rice cooker or heavy-bottomed pot. Once cooked, let it steam for 10 minutes, then fluff and allow it to cool slightly; rice that is too hot will not hold its shape, while cold rice won’t stick together.
Step 2: Shaping the Onigiri Triangles
Dampen your hands with water and a pinch of sea salt. Take approximately ½ cup (100g) of warm rice and compress it firmly between your palms. Use your top hand to form a “roof” shape, rotating the ball to create three distinct corners. Ensure the edges are sharp and the faces are flat to maximize the surface area that will come into contact with the heat.
Step 3: The Initial Air-Fryer Crisp
Preheat your air fryer to 400°F (200°C). Lightly spray the basket with a neutral oil to prevent the rice from sticking. Place the triangles in the basket, ensuring they do not touch. Air fry for 8-10 minutes, flipping halfway through, until the exterior feels dry to the touch and a light golden crust begins to form. This “par-fry” is crucial for setting the shape before the wet glaze is added.
Step 4: Glazing for Maximum Umami and Gloss
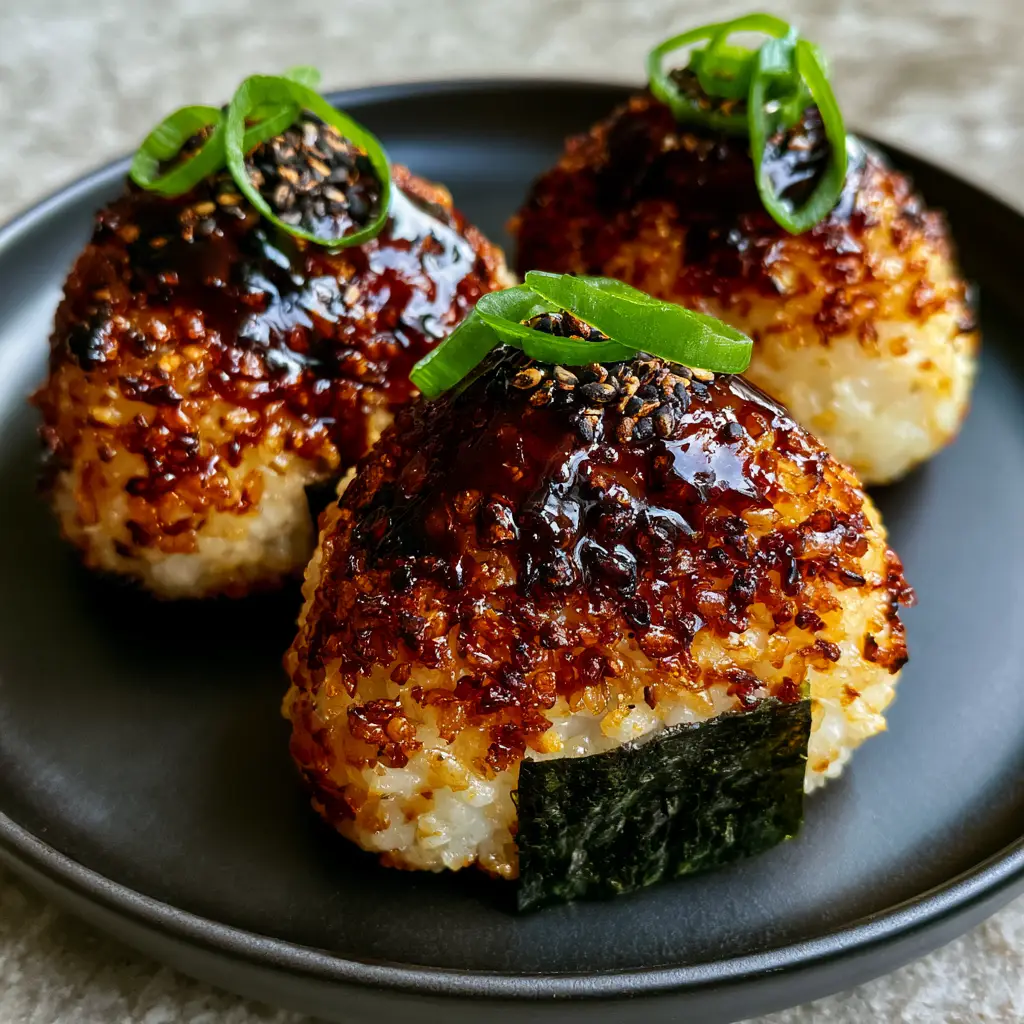
While the rice fries, whisk together the miso, soy sauce, mirin, and sesame oil in a small bowl. Open the air fryer and use your pastry brush to coat the top face of each onigiri with a thick layer of the glaze. Air fry for another 2-3 minutes. Flip the rice balls, glaze the other side, and fry for a final 2 minutes until the miso is bubbling and a deep, charred brown color is achieved.
Step 5: The Final Visual Flourish
Remove the Yaki Onigiri from the air fryer. Immediately wrap a small rectangular strip of nori around the bottom base of each triangle; the residual heat will help it adhere. Top each one with a meticulous pinch of black sesame seeds and a few rings of green scallions as described in the visual blueprint. Serve on a matte black plate for that high-end lifestyle aesthetic.
Expert Tips for Success
- The Cooling Rule: Never attempt to air fry freshly boiled, steaming rice. Let the rice sit for at least 15 minutes. This allows the starches to retrogradate slightly, making the onigiri much more stable.
- Firm Compression: When molding, use more pressure than you think you need. A loose onigiri will crumble into “fried rice” the moment you try to flip it in the air fryer.
- Glaze Timing: Do not apply the miso glaze at the beginning of the cooking process. The high sugar content in miso and mirin will burn and turn bitter before the rice itself has had a chance to crisp up.
- Wet Hands: Keep a bowl of water nearby while shaping. If your hands get sticky, the rice will tear, ruining the smooth surface required for a glistening glaze.
Storage, Reheating, and Freezing
Yaki Onigiri are best enjoyed immediately while the crust is “shatter-crisp.” However, you can store leftovers in an airtight container in the refrigerator for up to 2 days. To reheat, place them back in the air fryer at 350°F (175°C) for 5 minutes to revive the texture. Microwave reheating is not recommended as it will turn the crust soggy.
To freeze, wrap individual un-glazed (but pre-fried) rice balls in plastic wrap and store in a freezer bag for up to a month. Air fry directly from frozen, adding an extra 5 minutes to the initial crisping stage before applying the glaze.
Pairing Suggestions for a Complete Japanese Feast
These crispy rice balls are incredibly versatile. For a light lunch, serve them alongside a bowl of miso soup and some spicy dill pickles for a tang that cuts through the rich miso. If you’re planning a dinner spread, they are the perfect textural companion to authentic chicken yakitori skewers or a fusion chicken and rice dish.
If you’re craving something sweet after this savory umami bomb, check out our creative dessert ideas to round out your meal.
Frequently Asked Questions
Yes! Shape the triangles and store them in the fridge. Air fry and glaze them just before serving to ensure the crust stays crispy and doesn’t get soggy.
No, long-grain rice like Basmati or Jasmine lacks the necessary starch (amylopectin) to stick together, causing the onigiri to fall apart when cooking.
The air fryer is more consistent and uses less oil. It provides 360-degree heat which creates a more uniform ‘shatter-crisp’ texture on all sides of the rice ball.
Red miso (Aka Miso) provides a deeper, bolder umami flavor, while white miso (Shiro Miso) is sweeter and milder. Both work perfectly for this recipe.
Rice sticks to dry hands. Keep a bowl of water nearby to lightly dampen your palms and use a pinch of salt to prevent sticking and add flavor.
The Perfect Yaki Onigiri Recipe
Yaki Onigiri: The Ultimate Air-Fried Crispy Miso Rice Balls
Ingredients
Equipment
Method
- Dampen hands with salted water. Shape 1/2 cup of warm cooked rice into a tight triangle, compressing firmly.
- Place rice triangles in the air fryer at 400°F (200°C) for 8-10 minutes, flipping halfway until a dry crust forms.
- Whisk miso, soy, mirin, and oil. Brush onto the rice balls and air fry for 2-3 minutes per side until glistening and charred.
- Wrap with nori at the base. Top with scallions and black sesame seeds while still warm.
Notes
Don't glaze too early or the miso will burn.
Unlock the Crunch Today
The Yaki Onigiri is a testament to the beauty of simple ingredients handled with technical care. By following this guide, you’ve mastered the art of the shatter-crisp crust and the glistening miso finish. If you enjoyed this recipe, please leave a comment below and share your creations with us! Don’t forget to follow honestfoodcraving on Pinterest for more culinary inspiration.